

Introduction
Is your laptop heating up more than your cup of coffee in the morning? If yes, it’s probably crying out for a good internal cleaning and if you are thinking ‘How to Clean Your Laptop Internally’ then in this beginner’s guide, we’ll walk you through everything you need to know about cleaning your laptop from the inside out, ensuring it runs cooler, faster, and longer.
Why Internal Cleaning is Crucial for Your Laptop
Effects of Dust Buildup on Performance
Imagine trying to jog while wearing a mask full of dust — not fun, right? That’s exactly what your laptop experiences when dust clogs its cooling system. This results in restricted airflow, excessive heat, and eventually, slower performance.
How Cleaning Extends Your Laptop’s Lifespan
Just like regular oil changes keep a car running smoothly, internal cleaning prevents components from overheating and failing prematurely, saving you from costly repairs or replacements.
Signs Your Laptop Needs Internal Cleaning
Overheating Issues
If your laptop feels like it’s about to catch fire, that’s a flashing warning sign.
Loud Fan Noises
A noisy fan is your laptop’s desperate cry for help — dust buildup makes fans work overtime.
Unexpected Shutdowns
Sudden shutdowns during work or gaming? Your laptop might be triggering thermal protection to avoid damage.
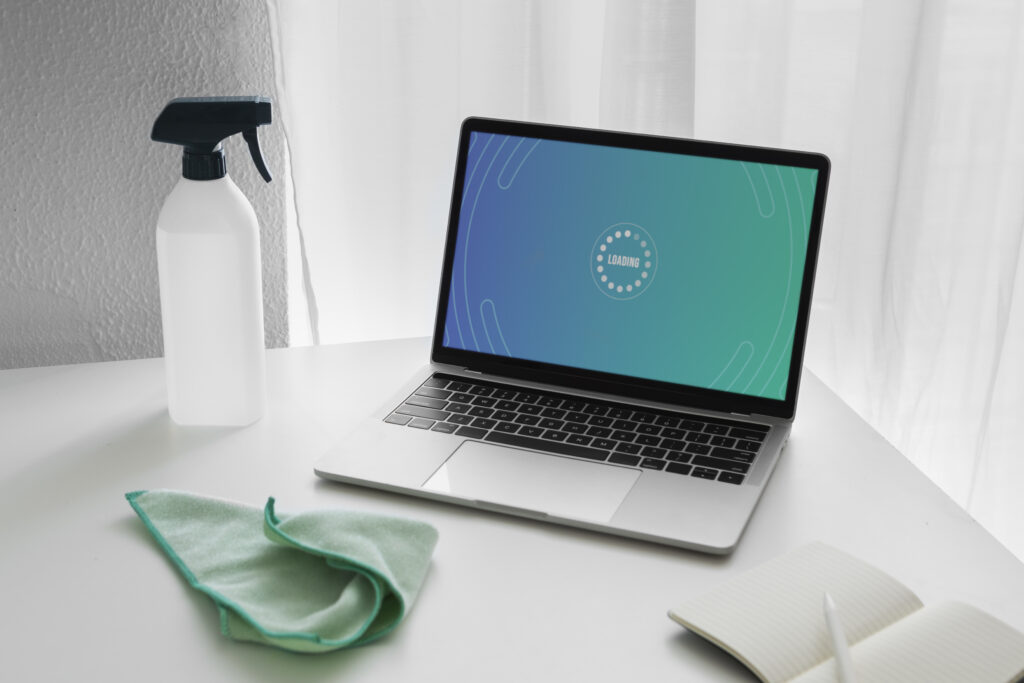
Tools You’ll Need Before You Start
Essential Cleaning Supplies
- Compressed air can
- Soft-bristled brush
- Microfiber cloth
- Isopropyl alcohol (at least 90%)
Optional Tools for Deeper Cleaning
- Precision screwdriver set
- ESD (Electrostatic Discharge) wrist strap
- Thermal paste (for advanced users)
Preparing to clean your Laptop Internally
Backing Up Important Data
It’s wiser to be cautious — make sure to back up your files regularly. One wrong move and poof — your memories and documents could vanish.
Powering Down and Removing the Battery
Unplug the laptop, remove external devices, and, if possible, take out the battery. Safety first!
Step-by-Step Guide to Clean Your Laptop Internally
Step 1: Accessing the Internal Components
Find the screws on the back panel and remove them carefully. Put the screws in a small container — they disappear faster than socks in the laundry.
Step 2: Removing Dust with Compressed Air
Use short bursts to blow out the dust. Avoid tilting the can — doing so could cause liquid to spill and harm the components.
Step 3: Cleaning the Fans Carefully
Keep the fan blades steady to prevent damage while using air or gently brushing them.
Step 4: Wiping Down Surfaces with Isopropyl Alcohol
Gently dampen a microfiber cloth with alcohol and carefully clean the surfaces. Avoid drenching — it’s a wipe, not a bath!
Special Focus: Clean Your Laptop Key Components
Cooling Fans
Fans are the lungs of your laptop. Keep them dust-free to allow proper airflow.
Heat Sinks
If your CPU heat sink looks like it’s wearing a fur coat, you need to clean it pronto.
RAM and Storage Drives
Use compressed air to remove loose dust around these sensitive parts — no rubbing needed.
Things You Should Never Do To Clean Your Laptop Internally
- Never use a regular vacuum — static electricity can fry components.
- Don’t spray liquids directly.
- Avoid using metal tools without an ESD strap.
How Often Should You Clean Your Laptop Internally?
At least once every 6 months if you’re in a dusty environment. Otherwise, once annually should be sufficient.
Professional Cleaning vs DIY: Which is Better?
DIY is cheaper and satisfying, but if you’re not confident, a professional touch can save you from costly mistakes.
Tips to Keep Your Laptop Cleaner for Longer
Best Practices for Daily Use
- Keep food and drinks away.
- Use a laptop cover when not in use.
Importance of Using a Cooling Pad
Cooling pads help maintain better airflow, reducing dust intake and helping components stay cooler longer.
Check out the cooling pad on Amazon!
Conclusion
Cleaning your laptop internally isn’t rocket science — it’s more like giving your tech buddy a much-needed spa day. A cleaner laptop means better performance, fewer headaches, and a longer lifespan. So grab your tools, follow these steps, and show your laptop some love!
Related posts:
Flipkart x ASUS Business Laptops
FAQs
Q : Is it safe to use a vacuum cleaner for cleaning the inside of my laptop?
A : No, using a vacuum can generate static electricity, potentially damaging sensitive parts.
Q : How long does an internal laptop cleaning take?
A : Typically, it takes between 30 to 60 minutes, depending on the level of detail you apply.
Q : Will cleaning void my warranty?
A : Opening your laptop might void the warranty — check your manufacturer’s guidelines first.
Q : Can I clean the internal parts without opening my laptop?
A : You can blow compressed air into vents for a minor clean, but it won’t be as effective as a full internal cleaning.
Q : What if my laptop still overheats after cleaning?
A : If overheating persists, it could be due to old thermal paste or hardware issues — professional servicing might be needed.